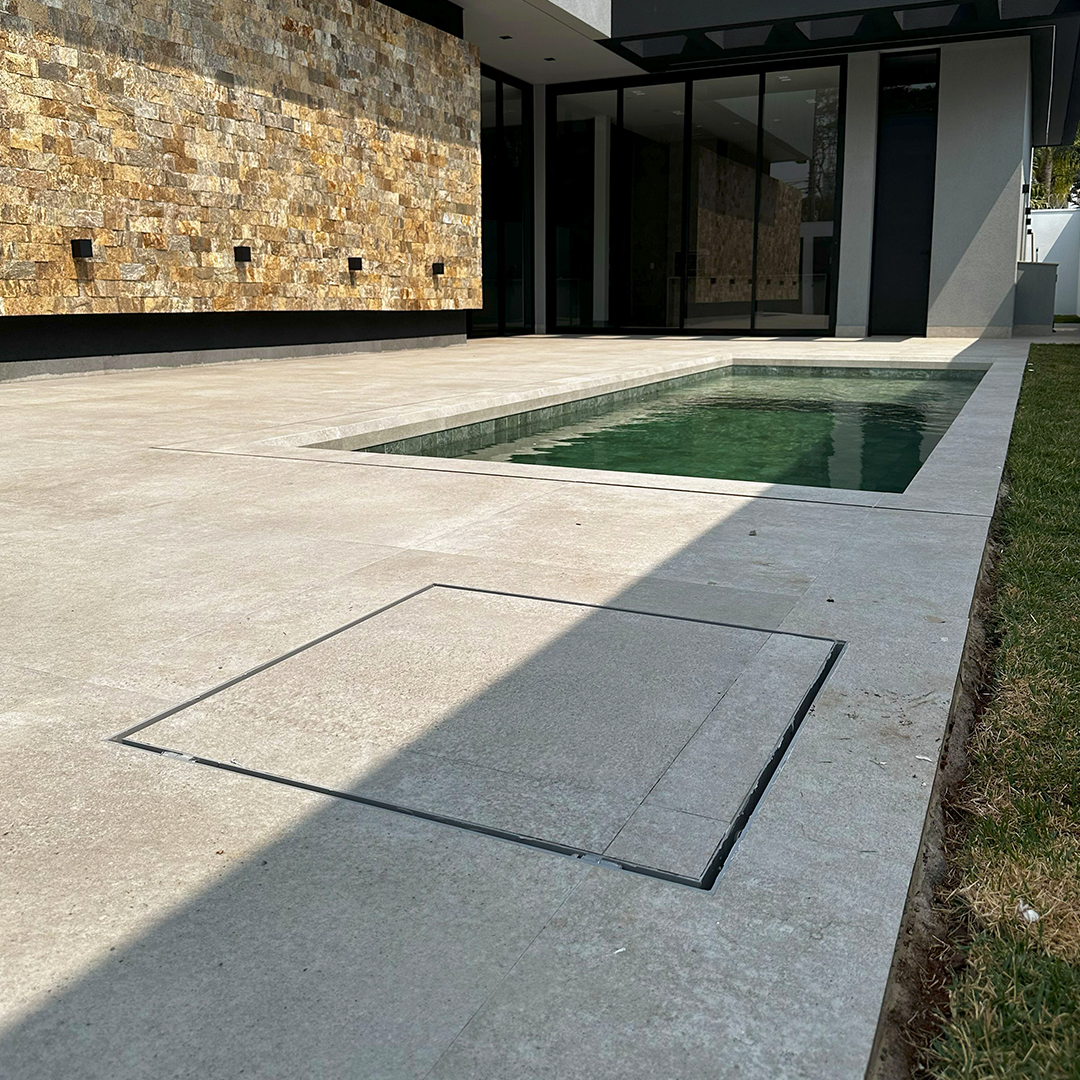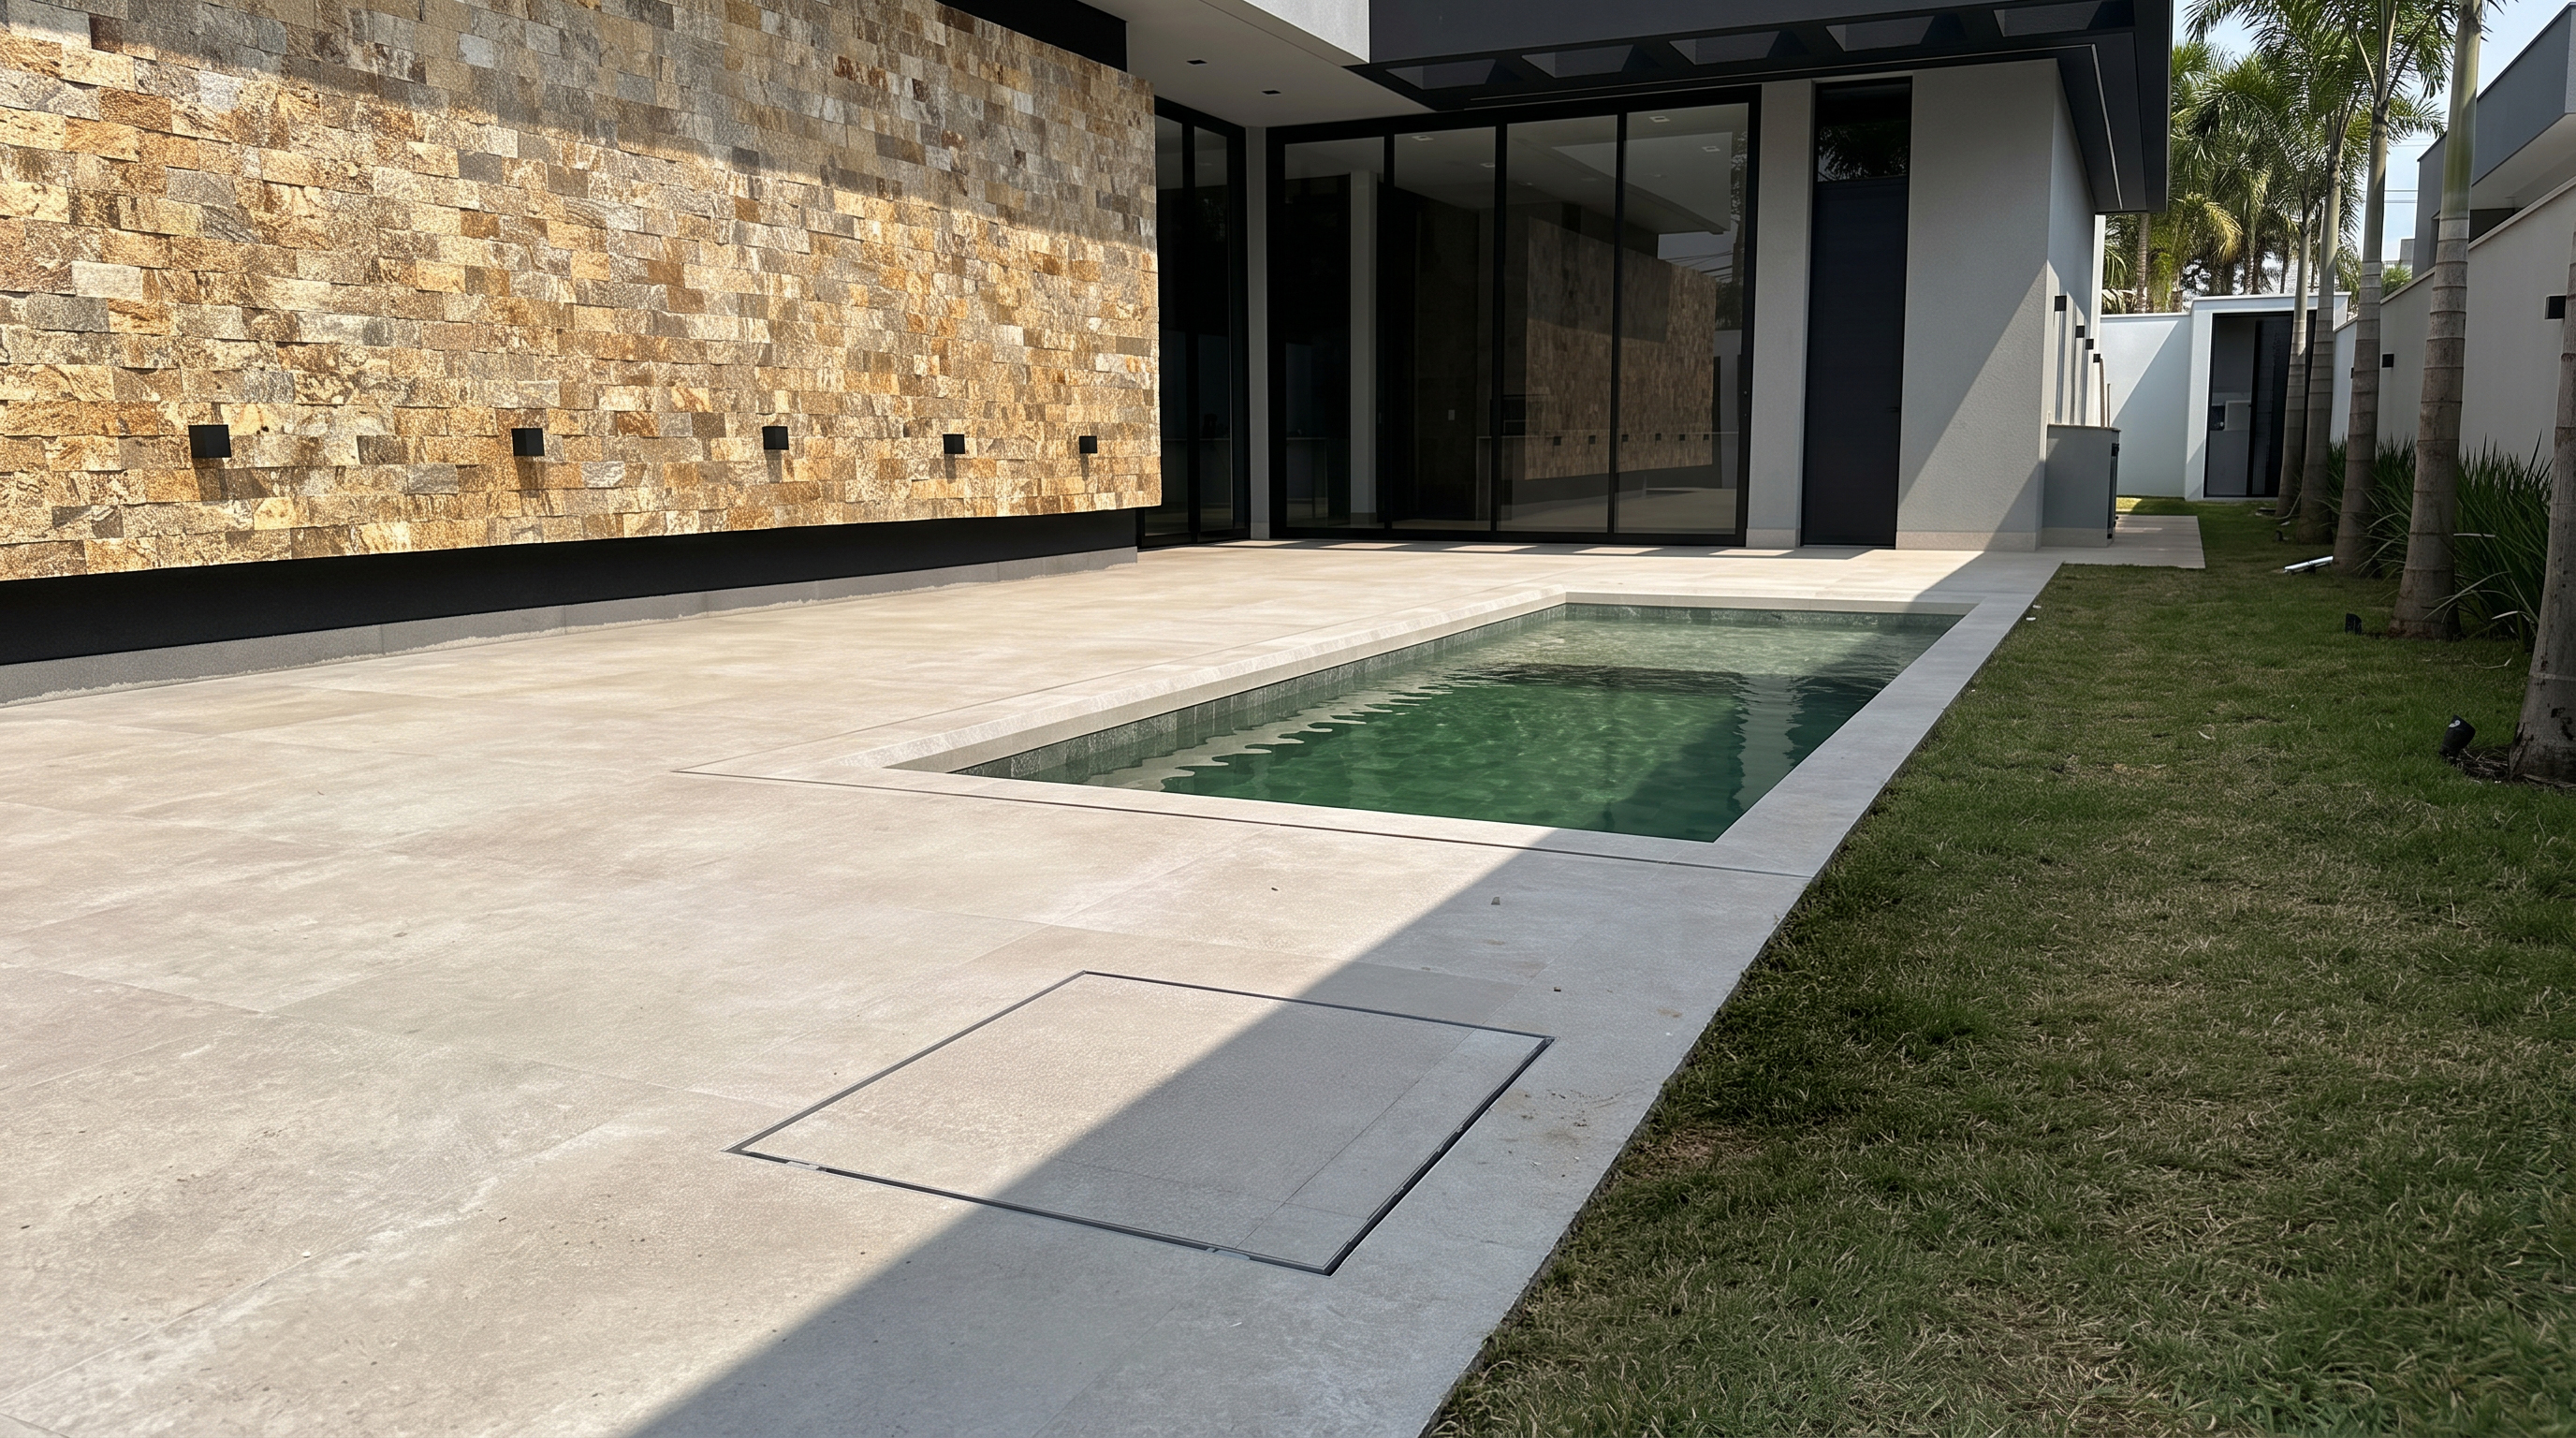
A pool equipment hatch performs at its best when the opening and perimeter support are prepared with precision before installation.

Step 1: Check Clear Opening and Level the Frame
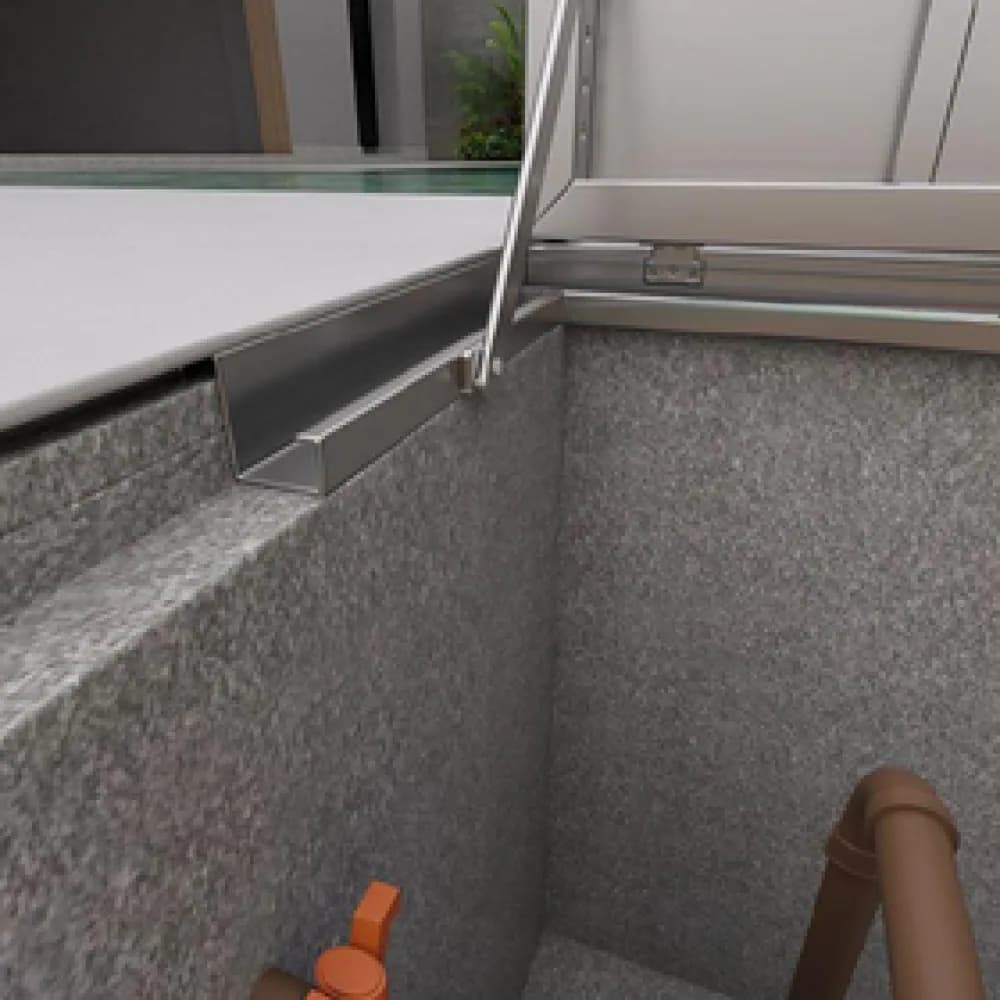
Measure clear width and length. Seat the frame on leveled mortar and apply polyurethane sealant under the perimeter flange to ensure a watertight seal against rain runoff.

Step 2: Tile Inlay and Perimeter Expansion Gaps
Inlay porcelain tile or stone inside the tray using flexible structural adhesive. Maintain clean perimeter clearance around the tray so the hatch opens smoothly without binding.

Step 3: Connect the Internal Drainage Outlet
Connect the drainage tube from the internal gutter to the site storm drainage network. Allow 24 hours for full adhesive cure before lifting with heavy stone.
INSTALLATION STEP | REQUIRED TOOLS | ADHESIVE / MATERIAL |
|---|---|---|
1. Vault Opening Prep | Spirit level, measuring tape | Leveling repair mortar |
2. Frame Mounting | Cartridge caulking gun | Polyurethane PU 40 adhesive |
3. Tile Inlay Bonding | Notched trowel, tile spacers | Structural PU / Flexible mortar |
4. Drainage Piping | Hole saw or 40/50mm connector | PVC drainage pipe / 45° elbow |